
We recently completed an interesting project in Hewlett Harbor this month. The lower level of the house was badly flooded by Hurricane Sandy and they floors had to be replaced. The beautiful oak floors were of variable widths 4inch, 6inch and 8inch and contained 3/4 walnut plugs. The floors were beginning to cup and were saturated by the floodwater. The customer wanted the floors ripped up and replaced exactly how they were installed and refinished. Once we started ripping out the floors we found out there were three levels of sub floors underneath the oak. First, the concrete sub floor was very unlevel, so they shimmed 2/4 Sleepers over 30 felt paper, which covered the concrete. Then they installed 3/4 inch pine T&G sub floor over the sleepers and also 1/4 inch plywood wood on top of the pine sub floor. Then the Red Oak flooring was screwed to the sub floors underneath and covered by the 3/4 inch walnut plugs.

Once all the floors were ripped out, we started to reconstruct the new floors to the same specifications to the old floor. First we laid a heavy 30 felt paper as a moisture barrier. We then had to use a self-leveling laser level to make sure the sleepers were 100% level with shims. We then fastened the 2×4 pressure treated 2x4s to the concrete and screwed 3/4 inch and 1/4 inch plywood on top of the sleepers.

Once the sub floor was completed we started to install the Red Oak in 4inch, 6inch and 8inch widths. After we nailed the oak floor in, we had to drill 3/4 inch holes in the oak for the walnut plugs. As the Oak was greater than 7inch in width, we also had to screw each board with 1 1/2 inch screws to stop the floor from moving from expansion. Then we glued the plugs into the holes to finish the installation.

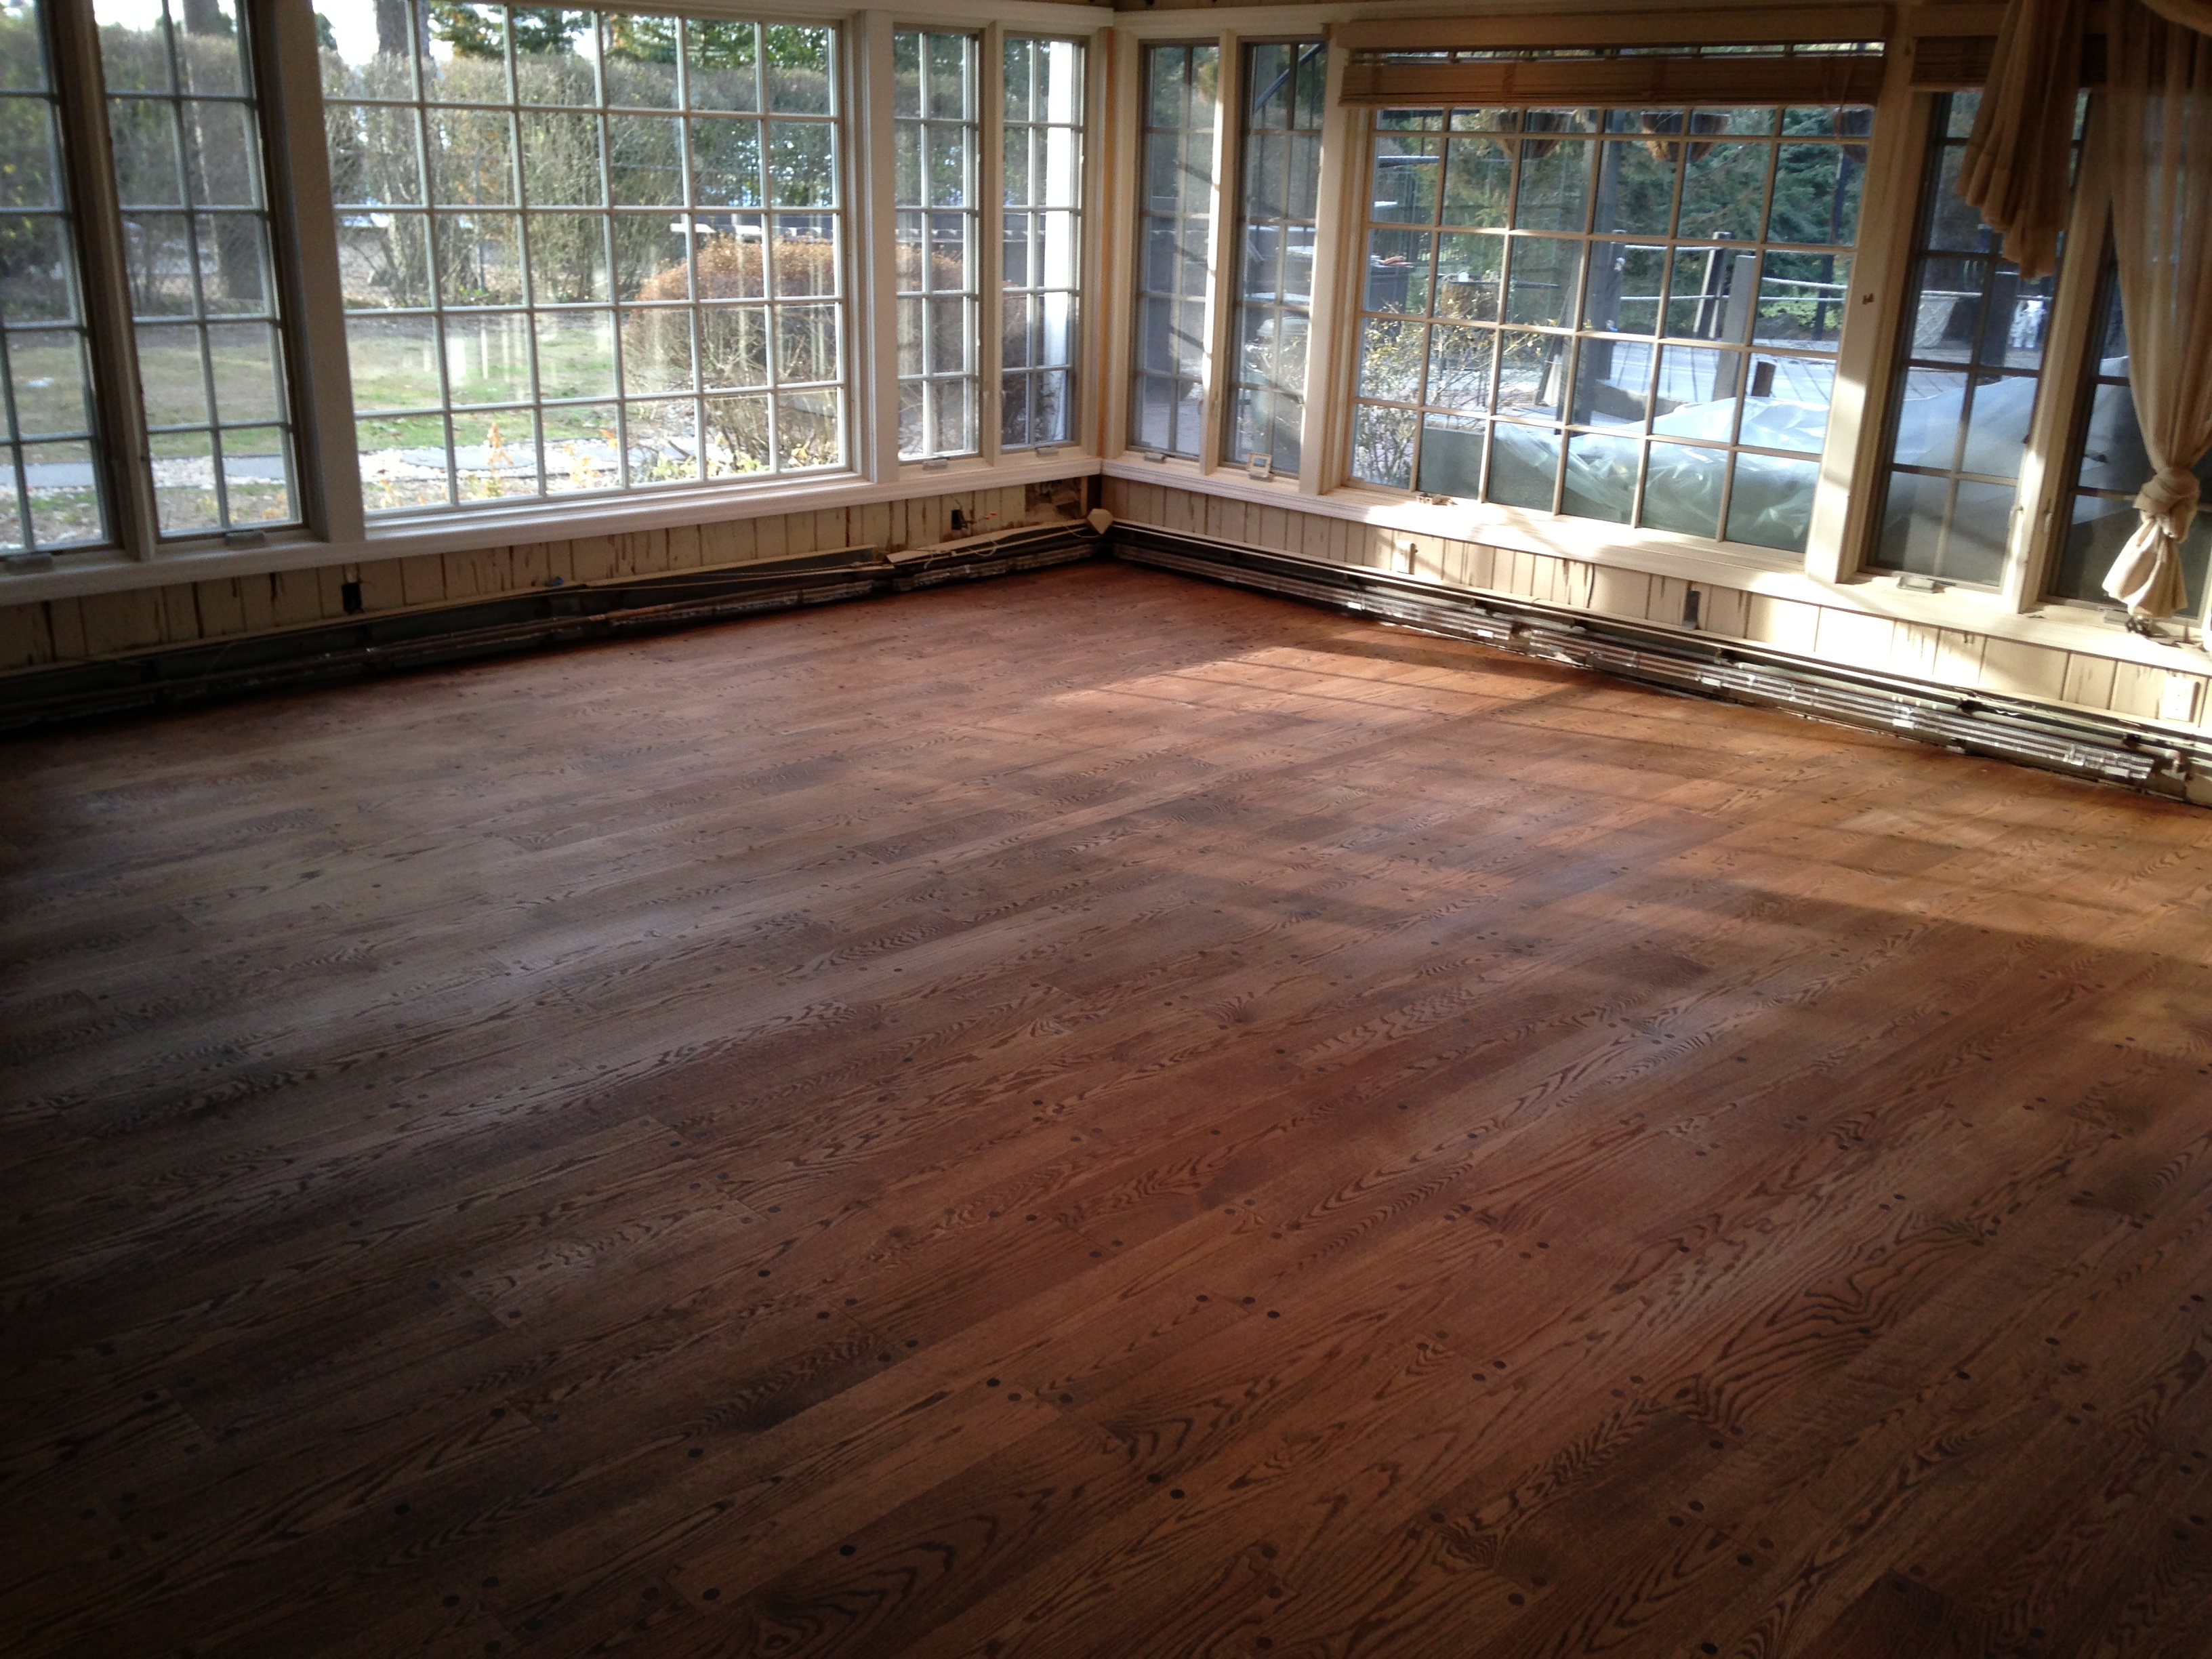
We then refinished the floor and match the floor to the old stain, which was Provincial. The homeowner wanted the exact finish as the old floor – so we used an old school finish Fabulon Oil Base Semi-Gloss polyurethane.


The overall job came out great and the homeowner was very happy to have been able to restore his beautiful old floors to new again. Here are some more photographs of the project. Please let me know what you think. Thanks.


")